
Cleaning mold with vinegar: quick answer
For homeowners, cleaning mold with vinegar works best on small, light mold spots on hard surfaces like tile, glass, sealed grout, tubs, and sink areas. Use undiluted white vinegar, let it sit, scrub the growth away, and dry the area fully so the mold has less moisture to feed on. Do not use vinegar for large mold patches, soft materials, sewage cleanup, HVAC mold, or any job that makes you feel sick.
Key takeaways
- Patches under about 10 square feet are usually a DIY job (EPA’s Mold Cleanup in Your Home).
- Vinegar handles light hard-surface mold only; soaked drywall, carpet, and hidden wall mold are out of its league.
- Never mix vinegar with bleach or other cleaners.
- Killing mold is not enough; you have to remove it and dry the surface.
- Keeping humidity below 60% — ideally 30% to 50% — helps slow regrowth.
When is vinegar safe enough for mold removal?
A moldy area under about 10 square feet, roughly a 3 ft. by 3 ft. patch, can often be handled by the homeowner, per EPA. That is the best lane for vinegar for mold removal: a shower corner, a small windowsill line, a sink rim, or a few tile grout spots.
Vinegar is not a rescue plan for a wall that stayed wet after a leak. It is also not the right choice after sewage, flooding, or mold inside heating and cooling equipment. Those jobs can spread spores and can hide damage behind the visible stain.
Use vinegar only when all of these are true. This keeps cleaning mold with vinegar in the small, surface-level lane where it belongs.
- The mold is on a hard, mostly nonporous surface.
- The patch is within the small-area DIY range above.
- The surface is not natural stone, unfinished wood, waxed wood, bare metal, or delicate grout.
- You can open a window or run a fan that vents outdoors.
- Nobody nearby has asthma symptoms, a weak immune system, or strong mold reactions.
If the mold keeps coming back in a bathroom, the cleaning method is only part of the fix. A routine bathroom sanitizing visit can help reset the room, but the fan, leak, or wet caulk still has to be addressed.
What does vinegar do to mold?
White vinegar for cleaning mold helps loosen light surface growth because it is acidic. It can make scrubbing easier, cut soap film that mold clings to, and reduce the musty film on hard bathroom surfaces. It does not turn a damp area into a mold-free area by itself.
Biocides such as chlorine bleach are not recommended as routine mold cleanup, and dead mold can still cause allergic reactions — killing mold is not enough; it has to come off the surface (EPA).
That point matters for vinegar too. A bottle can help with the cleaning step, but the rag, brush, rinse, and dry-down do the real work. If a black stain remains after scrubbing, it may be old staining in grout or caulk rather than active surface growth.
We see this weekly in client homes around Rocklin and Roseville: the mold spot is often sitting on soap scum, hard-water film, or dusty window-track grit. Remove that food layer, dry the area, and the same surface usually stays cleaner longer.
Gather these supplies first
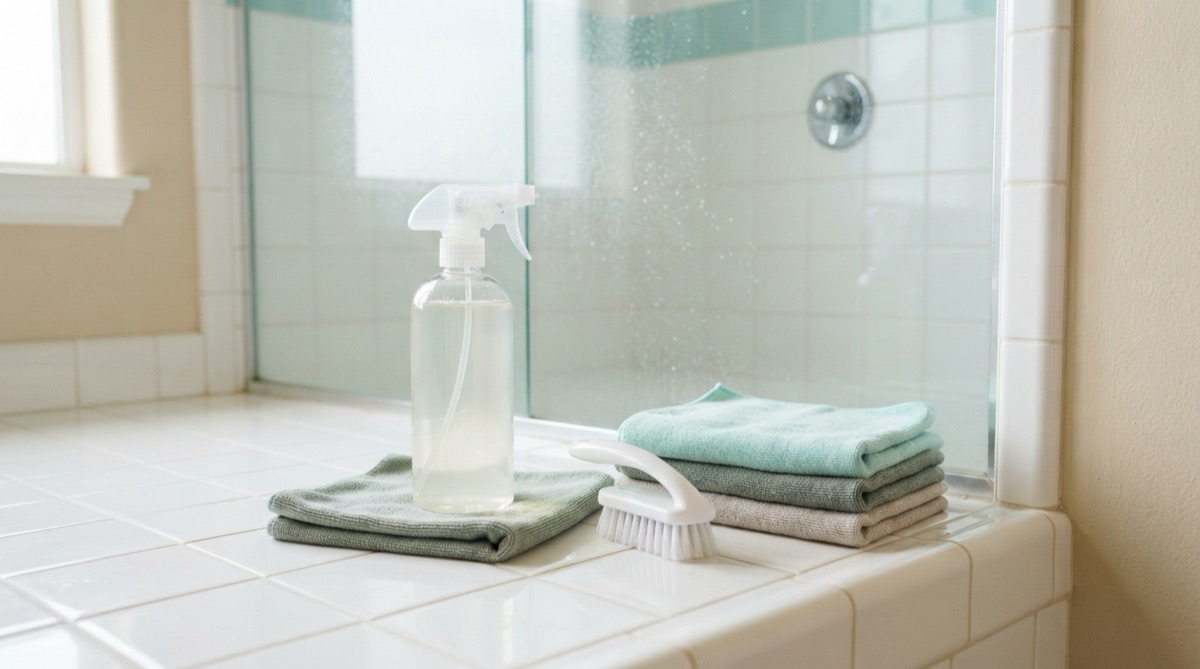
Wear gloves, goggles, and an N-95 respirator whenever you disturb moldy areas. For a small bathroom patch, you do not need fancy tools. You do need gear that keeps spores and vinegar spray off your skin, eyes, and lungs.
| Item | Why it helps | Simple choice |
|---|---|---|
| White vinegar | Loosens light mold on hard surfaces | Use undiluted, label-strength vinegar |
| Spray bottle | Gives even coverage | Label it “vinegar only” |
| N95 respirator | Reduces breathing in mold spores | Use a proper-fitting mask |
| Goggles | Keeps splashes and spores out of eyes | Choose non-vented goggles |
| Gloves | Protects hands from mold and acid | Rubber, nitrile, or neoprene |
| Nylon brush | Lifts growth from grout lines | Avoid wire on tile and fixtures |
| Microfiber cloths | Wipes residue without shredding | Use light-colored cloths |
| Trash bag | Holds used cloths and loose debris | Seal before carrying out |
Skip vinegar-and-baking-soda mixes for mold. The fizz looks busy, but the acid and base cancel each other out fast. Use vinegar alone, then scrub with a brush or cloth.
How to clean mold with vinegar step by step
Clean up mold promptly, then fix the water problem. That order is the whole method when cleaning mold with vinegar: protect yourself, remove the visible growth, dry the surface, then stop the moisture source.
Step 1: Check the size and source
Measure the patch before spraying anything. If the visible growth is near or over that 10-square-foot cutoff, stop and call a mold professional. If the area is small, look for the moisture source first.
Common bathroom causes are weak fan airflow, wet towels against walls, bad caulk, a slow toilet leak, or a tub edge that never dries. In Sacramento summers, fine dust can ride in through open windows and stick to damp shower ledges. Mold grows faster when that dust sits on a wet surface.
Step 2: Ventilate and protect yourself
Open a window if you can. Run the bathroom fan if it vents outdoors. Put on gloves, goggles, and an N95 respirator before you disturb the spot.
Do not dry-brush mold before wetting it. A dry brush can lift spores into the air. Lightly mist the area with vinegar first so the growth stays damp while you work.
Step 3: Spray undiluted vinegar
Spray enough white vinegar to wet the moldy surface without making puddles. Keep the bottle close to the surface so less mist drifts through the room. When cleaning mold with vinegar, we use a 30 to 60 minute dwell on tile, glass, sealed grout, fiberglass, or porcelain.
Use less dwell time on older grout or any surface you are unsure about. Vinegar is acidic. It can etch stone, dull finishes, and irritate damaged grout.
Step 4: Scrub the growth away
Scrub from the outer edge toward the center. This keeps the wet area smaller and helps you avoid smearing growth into clean grout. Use a nylon brush for grout lines and a microfiber cloth for smooth surfaces.
If the spot is in caulk, scrub gently. Mold often grows behind failed caulk, not just on top of it. If the black line does not lift, the caulk may need removal and replacement after the area dries.
Step 5: Wipe, rinse if safe, and dry
Wipe the loosened residue with a damp cloth. Rinse tile, tub, and glass if the surface maker allows it. Then dry the area with a fresh cloth.
Drying is not optional. Wet or damp areas dried within 24 to 48 hours after a leak or spill often will not grow mold (EPA’s Brief Guide). After cleaning, point airflow at the surface until it is dry to the touch.
Step 6: Recheck the spot the next day
Look for odor, dampness, or new spotting after 24 hours. If the spot looks cleaner, smells normal, and stays dry, the cleanup likely worked. If the same area darkens again, the moisture source is still active.
Do not paint or caulk over a moldy surface — paint applied over mold is likely to peel. Clean, dry, and fix first; seal only after the surface stays dry.
Which surfaces can you clean with vinegar?
Vinegar is a narrow tool with a short list of safe surfaces. The safest use is on hard, nonporous bathroom and kitchen surfaces that can handle mild acid. When in doubt, test a hidden spot first.
| Surface | Use vinegar? | What to do |
|---|---|---|
| Ceramic tile | Yes | Spray, dwell, scrub, rinse, dry |
| Glass shower doors | Yes | Spray lightly, wipe well, dry |
| Porcelain tubs and sinks | Usually | Avoid damaged enamel |
| Sealed grout | Caution | Short dwell, gentle brush |
| Silicone caulk | Sometimes | Clean surface mold; replace failed caulk |
| Natural stone | No | Use stone-safe cleaner |
| Unfinished wood | No | Call a pro if growth is more than surface dust |
| Drywall | No | Find the leak; damaged sections may need removal |
| Carpet or pad | No | Porous material can hold growth inside |
Porous materials such as carpet and ceiling tile may need to be thrown away when they become moldy. Mold can grow into small spaces inside the material, so surface cleaning may leave the root problem behind.
That is why bathroom tile is a better vinegar target than drywall. Tile gives you a surface you can scrub, wipe, and dry. Drywall gives mold a paper face and a soft core.
What should you never mix with vinegar?
Do not mix vinegar with bleach, toilet bowl cleaner, drain cleaner, hydrogen peroxide, ammonia products, or any unlabeled cleaner. Use one cleaner, finish the job, and rinse only when the surface allows it.
Washington State Department of Health guidance says chlorine bleach mixed with acids gives off chlorine gas. The same guidance lists vinegar as an acid product. Chlorine gas can irritate the eyes, throat, nose, and lungs, and high exposure can be dangerous.
This mistake often happens in bathrooms. Someone sprays vinegar on shower mold, then adds a bleach-based mildew product when the stain does not vanish. That does not clean better. It creates a chemical exposure risk.
If you already used bleach in the area, do not spray vinegar on top. Stop, ventilate, rinse with water if safe for the surface, and wait before using anything else. If anyone has chest pain, shortness of breath, or strong eye and throat irritation, leave the area and seek medical help.
When is vinegar not enough?
More than 10 square feet of mold, heavy water damage, contaminated water, and possible HVAC contamination need a higher level of care. Vinegar should not be your only plan in those cases.
Call a professional when:
- The patch is larger than about 3 ft. by 3 ft.
- The mold came after a roof leak, flood, sewage backup, or long plumbing leak.
- The wall feels soft, swollen, or crumbly.
- Mold is near vents, returns, or inside air equipment.
- A musty smell remains after cleaning.
- Someone in the home has asthma, lung disease, immune concerns, or strong symptoms.
- You rent and need documentation for a property manager.
For homes that need a full reset after repairs, move-out cleaning, or long moisture problems, deep cleaning is usually a better fit than spot treatment. Deep cleaning is not mold remediation, but it can remove the dust, film, and residue that make bathrooms and kitchens feel stale after the source is fixed.
How do you stop mold from coming back?
Aim to keep indoor humidity below 60%, ideally between 30% and 50%. That is the prevention target. If the room stays damp, vinegar will turn into a weekly chore.
Start with airflow. Run the bathroom fan during showers and for a while after. If the mirror stays fogged or the ceiling feels damp, the fan may be weak, dirty, blocked, or venting poorly.
Then remove standing moisture. Squeegee shower walls. Pull shampoo bottles off corners so water can drain. Hang bath mats and towels where air can reach both sides.
Hard water in Greater Sacramento can leave mineral film on glass, faucets, and tile edges. Mold and mildew cling to that film. A regular bathroom sanitizing routine helps remove buildup before it turns into a mold-friendly layer.
Use a small humidity meter if one room keeps getting musty. If humidity stays above target, try a better fan habit, a dehumidifier, or repair work. If one wall is always damp, cleaning is not the fix.
Common mistakes when killing mold with vinegar
Most vinegar mold cleanup fails for simple reasons. The cleaner was diluted too much, the surface stayed wet, or the wrong material was cleaned. Fix those first before buying stronger products.
Mistake 1: Spraying and walking away. Vinegar needs wiping and scrubbing. Mold residue left on the surface can still bother sensitive people and can leave stains behind.
Mistake 2: Cleaning porous material. Carpet, pad, ceiling tile, and damaged drywall can hold mold below the surface, where no surface cleaner reaches.
Mistake 3: Ignoring the water source. If the fan is weak or the leak continues, the same stain comes back. Mold control is moisture control.
Mistake 4: Mixing cleaners. Do not chase a stubborn stain with bleach after vinegar. Finish with one product, ventilate, and stop if you are unsure.
Mistake 5: Scrubbing grout too hard. Aggressive scrubbing can open grout pores and make future staining worse. Use a nylon brush and steady pressure, not a wire brush.
What should clean mold look like afterward?
A cleaned hard surface should look free of fuzzy growth, feel dry, and smell neutral. Some old grout or caulk stains may remain even when the surface growth is gone. Stain removal and mold removal are not always the same job.
After cleanup, visible mold and moldy odors should be gone, and the moisture problem must be fixed. Use those two checks before you call the job done.
Wait a day, then check the area with good light. If the spot is dry and stable, keep the prevention habits going. If it smells musty, spreads, or returns quickly, stop repeating vinegar and look for hidden moisture.
The bottom line on white vinegar for cleaning mold
Cleaning mold with vinegar is a reasonable DIY step for small, light mold on hard bathroom and kitchen surfaces. It is not a cure for leaks, porous materials, HVAC mold, or hidden growth.
When cleaning mold with vinegar, use vinegar alone, give it time to work, scrub the growth away, and dry the surface fully. For recurring bathroom mildew, schedule bathroom sanitizing. For a larger home reset after water issues are repaired, deep cleaning can remove the dust and buildup that help odors linger.
If the mold is small and surface-level, this guide can help you clean it safely. If you would rather not handle the mess yourself, our insured Greater Sacramento crews do this weekly with non-toxic products — get a free estimate.