
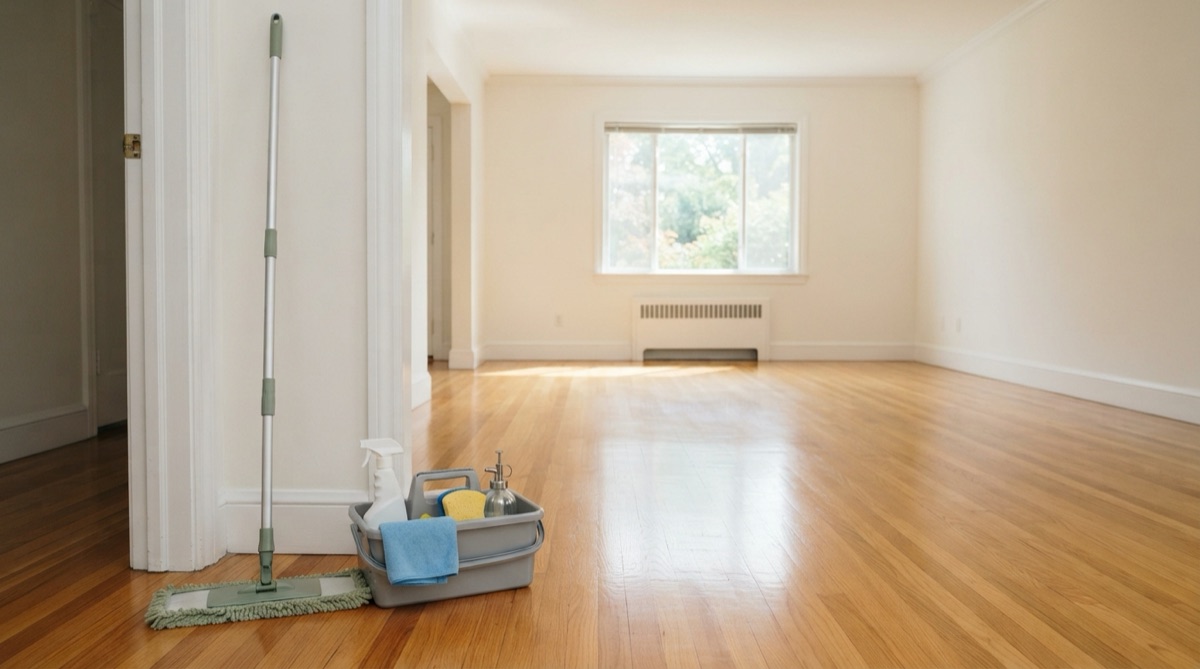
Empty it, clean high to low, document the result
A good move out cleaning starts when the home is mostly empty, then works from ceilings and shelves down to floors. The goal is simple: leave surfaces clear, dry, and easy for a landlord, buyer, or property manager to inspect. In a rental, photos and a clean final walk-through can matter as much as the scrubbing.
Key takeaways
- Photos matter. Take them after each room is empty, dry, and lit.
- Clean high before low so dust lands on floors you have not finished yet.
- California landlords have 21 days after move-out to return a deposit or send an itemized statement with deductions (California Courts).
- Kitchen and bathroom details carry the most visual weight: oven glass, cabinet shelves, grout edges, toilet bases, and sink rims.
- Deductions can cover cleaning and damage — never ordinary wear and tear like minor carpet wear or faded paint.
Start with proof before the first wipe
Before you clean, find the lease, move-in checklist, and any photos from the day you got the keys. Those old notes tell you what “clean enough” should mean for this specific home. A perfect shine is less useful than matching the move-in condition and proving what you left behind.
California deposit rules focus on returning the unit to the same level of clean it had when the tenant moved in. The same guide says deductions over $125 need invoices or receipts with the itemized statement, and unfinished work can start with a good-faith estimate followed by receipts within 14 days after the work is done. Deductions can cover cleaning and damage but not ordinary wear and tear — minor carpet wear and faded paint are the landlord’s cost, not yours (California Courts). That is why a final photo set should show more than one pretty counter.
Take wide photos from each doorway, then close-ups of appliances, tubs, sinks, floors, and any old damage. Photograph empty cabinets, drawer interiors, closet shelves, window tracks, and the inside of the refrigerator. If something was already stained, cracked, or worn, include it in the photo set instead of hoping no one asks later.
If you gave notice and a pre-inspection is offered, use it. A short list from the property manager is worth more than any guess about which scuffs, filters, or appliance parts they care about. Save texts, emails, and receipts in one folder until the deposit is settled.
Keep one small kit out of the moving boxes
Do not pack every cleaning supply before the final pass. Keep a small kit in the car or near the front door so you are not digging through boxes after the movers leave.
A simple kit can cover most homes:
- Vacuum with crevice and brush attachments
- Microfiber cloths in two colors, one for bathrooms and one for the rest of the home
- Mop, bucket, and a floor cleaner that fits the floor type
- Mild dish soap, glass cleaner, and an all-purpose cleaner
- Non-scratch pads, an old toothbrush, and a plastic scraper
- Trash bags, paper towels, gloves, and a step stool
- Phone charger for final photos
Use product labels and directions instead of mixing products. The Centers for Disease Control and Prevention warns that bleach should never be mixed with ammonia or other cleaners because it can create poisonous gas. If a room needs stronger disinfection, clean the dirt first, ventilate, and use one product at a time.
Use this final-pass order
This order keeps you from cleaning the same dust twice. It also gives you a clear stop point when moving day runs long.
- Remove all personal items, trash, food, hangers, shower products, and cabinet liners.
- Open every cabinet, drawer, closet, and appliance so hidden dirt is visible.
- Dust ceilings, corners, vents, fans, upper shelves, light fixtures, and curtain rods.
- Wipe doors, trim, switch plates, handles, railings, and fingerprints around frames.
- Clean windows, tracks, sills, blinds, and sliding door grooves.
- Empty and wipe kitchen cabinets, pantry shelves, drawers, and hardware.
- Clean appliances inside and out, including the refrigerator, oven, cooktop, microwave, and dishwasher edges.
- Scrub sinks, faucets, counters, backsplashes, and trash pull-out areas.
- Clean bathrooms from mirrors and fan covers down to tubs, toilets, floors, and baseboards.
- Vacuum closets, under cabinet toe kicks, carpet edges, and any place furniture covered.
- Mop hard floors with the right amount of water for the material.
- Walk the home in daylight if possible, then take final photos from each doorway.
If you have pets, add one more pass for hair. Vacuum baseboard edges, the corners behind doors, stair risers, and the spot where beds or sofas sat. Pet hair left in an empty room is easy to see.
Kitchen: clear crumbs, grease, and odors
The kitchen usually takes the longest because it has food soil, grease, water spots, and cabinet dust in one room. Start by emptying all food, bags, liners, and loose utensils. A forgotten spice jar or freezer item can make an otherwise clean kitchen look rushed.
Clean the refrigerator early enough for shelves and drawers to dry before photos. Remove bins if the model allows it, wash them gently, dry them, and put them back. Wipe the rubber door gasket, handle grooves, top edge, and the floor under the front grille if you can reach it safely.
The oven and cooktop need patience. Lift crumbs first, then soften grease with the product your appliance manual allows. Wipe the control area, knobs, burner caps, drip pans, door glass, drawer handle, and the narrow strip where food collects under the oven door.
Do not forget the dishwasher, even if it looks clean from the front. Wipe the door rim, handle, control panel, gasket, filter area if accessible, and the floor line below it. A sour smell from the dishwasher or disposal can make the whole kitchen feel dirty during a walk-through.
Finish with cabinets and counters. Run a hand along shelf corners for grit, wipe drawer tracks, and check the underside of upper cabinets near the stove. In empty homes, crumbs in a white cabinet show fast.
Bathrooms: remove film, hair, and hard-water marks
Bathrooms are judged at close range. A manager may look behind the toilet, inside vanity drawers, along shower-door tracks, and under the sink. Hair, soap film, and old toothpaste make a bathroom read as dirty even when the mirror shines.
Start dry. Vacuum or wipe loose hair from floors, drawers, tub corners, and the toilet base before adding water. Wet hair sticks to grout, caulk, and microfiber, which slows the whole room down.
Rocklin, Roseville, and Granite Bay homes often show hard-water marks on shower glass, faucets, drain rims, and black fixtures. Use a product that fits the surface, give it dwell time, then rinse and dry. Do not use abrasive pads on coated glass, stone, acrylic, or brushed metal unless the care label says it is safe.
Clean the exhaust fan cover, medicine cabinet shelves, vanity drawers, mirror edges, faucet base, sink overflow, shower niche, tub ledge, toilet hinges, and the floor behind the toilet. If the grout has dark spots, handle that before the final floor mop. Our guide to cleaning mold with vinegar can help you decide when a small shower spot is a surface issue and when moisture is the bigger problem.
Mold needs a slower decision than soap film. Small hard-surface areas may be scrubbed with detergent and water, then dried fully, while moldy porous materials such as carpet or ceiling tile may have to be removed (EPA). Do not paint or caulk over a damp or moldy area for move-out photos; it can peel and call more attention to the spot.
Bedrooms, halls, and living areas need edge work
Empty rooms show every line. Once beds, sofas, desks, and rugs are gone, you will see dust shadows, carpet dents, wall marks, and baseboard soil that were hidden for months. Handle those before the final floor work.
Dust the ceiling corners, closet rods, shelf tops, door tops, fan blades, vents, and window coverings. Wipe light switches, outlet covers, door handles, closet pulls, and handrails. If the home has mirrored closet doors, clean the track as well as the glass.
For walls, use the lightest method first. A dry microfiber cloth can remove loose dust. A barely damp sponge can help with fingerprints near switches and doors. Large stains, torn paint, or holes belong in the repair category, so check the lease before patching or repainting.
Closets deserve more than a quick glance. Remove hangers, shelf paper, lost socks, loose change, and small storage hooks that were added during the lease. Vacuum the floor line and corners, then photograph each closet open.
Floors should be last, with time to dry
Floors collect the dirt from every other task. Save them until cabinets, counters, bathrooms, and windows are done. The only exception is heavy debris, which should be vacuumed early so grit does not scratch hard floors while you work.
Vacuum carpet slowly in two directions. Use the crevice tool along baseboards, thresholds, closet corners, and stair edges. If spots remain, treat them lightly and let the area dry before the final photos so dark damp patches do not look like stains.
Hard floors need less water than most people think. Too much water can push dirt into seams, leave streaks, or harm wood and laminate. Use a damp mop, change rinse water when it looks gray, and dry sticky spots with a clean cloth.
Check slider tracks, garage thresholds, laundry-room corners, and entry mats after the truck leaves — dolly wheels and box traffic lay a fresh line of grit between the first clean and the key handoff. On our move-out jobs, the most common deduction trigger we see is exactly that entry line, photographed by a manager who walked in before anyone re-swept.
If you find a damp closet, musty baseboard, or suspicious stain near a bathroom wall, take photos before cleaning. Then compare it with your move-in notes. For shower and bath surfaces, the mold cleaning guide is a better match than guessing with a harsh product.
Watch the spots landlords notice fast
Some areas create instant deductions because they are easy to photograph and easy to connect to cleaning time. These are the places to check before you lock the door.
Look inside the oven, microwave, refrigerator drawers, freezer gasket, bathroom vanity, medicine cabinet, and kitchen trash area. Open blinds and check windowsills. Stand in the tub or shower and look down at the track, drain, grout corners, and faucet base.
Then walk the floor edges. Baseboards, carpet lines, and corners show whether the final vacuum reached the perimeter. In an empty home, a clean center with dusty edges looks unfinished.
Smell matters too. Take out all trash, remove food from the refrigerator, and let damp areas dry before closing the home. A clean-looking bathroom can still fail the first impression if the fan is off and wet towels were packed last.
Do less where cleaning can cause damage
Deposit pressure can push people into rough cleaning. That is when a small mark turns into a damaged finish. Slow down around stone, wood, stainless steel, painted cabinets, glass cooktops, and old grout.
Do not scrub a glass cooktop with a harsh pad, soak wood floors, use oven cleaner where the appliance manual forbids it, or pour water into carpet to chase a stain. Avoid removing caulk, hardware, blinds, appliance panels, or door parts unless the lease or manager clearly asks for it.
The same rule applies to odors. More fragrance does not solve a dirty source. Remove trash, clean the sink and disposal area, empty the fridge, dry wet bathrooms, and ventilate. A heavy scent can make an inspector look harder for what it is covering.
When professional move-out cleaning makes sense
Professional cleaning is not needed for every move. It makes sense when the home is large, the kitchen is greasy, the bathrooms have buildup, or you need the place ready while you handle keys, utilities, kids, pets, and the next address. It is also useful when an empty home needs one clean standard across every room.
Elite House Cleaning sends insured, background-checked cleaners for move-in and move-out cleaning in Rocklin and the Greater Sacramento area. For sellers, agents, and landlords, real estate cleaning can prepare an empty property for photos, showings, or the next occupant.
If you book help, make access simple. Leave water and power on, remove personal items first, share the lease checklist, and point out appliance add-ons or problem areas. The cleaner can work faster when the job is cleaning rather than sorting, packing, or guessing what stays.
Leave the handoff clean, dry, and easy to verify
The best final walk-through is boring. Cabinets are empty, floors are dry, appliances open cleanly, bathrooms smell neutral, and photos show the same thing from room to room. That kind of handoff gives the next person fewer reasons to slow down and search for problems.
If your moving day has more boxes than hours, put the checklist where it can still protect your deposit. Request a free estimate before the key handoff, and we will help you decide what needs a professional pass.