
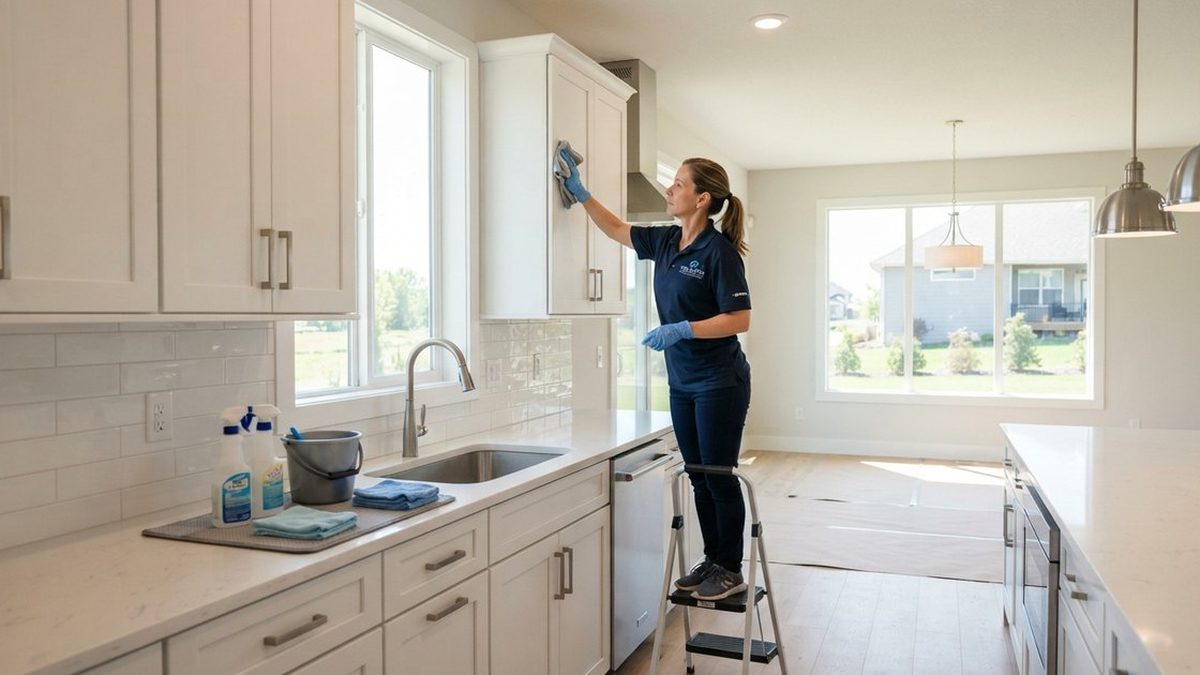
Quick answer: clean high to low and floors last
A post construction cleaning checklist should start with site handoff. Then move through 6 groups: high dust, surfaces, glass, tracks, fixtures, and floors. Remove loose dust with a HEPA vacuum before damp wiping. Save floor edges and full floors for last.
This checklist is for a final clean after tools, debris, and dust-making work are gone. A 2-3 bathroom home often takes 4-6 hours. Full-home post-construction cleans often take 6-10 hours. For the service scope, see final construction cleaning. For all 3 project stages, use the post-construction cleaning guide.
Before you start
Do not begin while workers are cutting, sanding, drilling, or spraying. Dust will keep landing. The work area may also be unsafe. Confirm the contractor removed 10 common items: scrap wood, drywall pieces, broken tile, nails, screws, paint cans, chemical containers, tools, heavy bags, and floor coverings.
Check that water, power, and lights work. Open every room in the scope. Gather 5 tool groups: microfiber cloths, a HEPA vacuum, a damp mop, non-scratch tools, and finish-safe products. Review OSHA construction silica guidance if concrete, mortar, brick, block, or stone created the dust.
Whole-home dry dust checklist
Fine dust falls as you work, so begin above eye level. Complete these 9 whole-home checks. Vacuum first. Damp wiping comes after loose particles are captured.
- Ceiling corners and reachable beams
- Light fixtures and cooled bulbs
- Ceiling fans, including blade tops
- Air return grilles and vent covers
- Door tops, frames, and upper trim
- Tall cabinet tops and open shelving
- Closet rods and shelf edges
- Window tops, sills, and ledges
- Baseboards, floor edges, and corners
Use slow HEPA vacuum passes. Then lift the film with damp microfiber. Do not push fine dust with compressed air or a dry broom. Drywall and joint-compound dust can hide on vents, registers, and light fixtures.
Kitchen final-clean checklist
Kitchens hold dust in cabinet holes, drawer corners, toe kicks, and new hardware. This section has 13 checks: 6 for cabinets and 7 for fixtures. Start at upper cabinets and work down.
Cabinets and drawers
- Vacuum cabinet tops, shelves, corners, and hinge areas
- Wipe cabinet fronts, edges, pulls, and knobs
- Clean agreed cabinet and drawer interiors
- Check shelf-pin holes and drawer tracks for loose dust
- Wipe toe kicks and the floor line below lower cabinets
- Remove only labels and film included in the scope
Open every door and drawer. Check each back corner with a light. One missed drawer can spread dust onto stored dishes.
Counters, appliances, and fixtures
- Vacuum grit before wiping countertops
- Match the cleaner to stone, laminate, quartz, wood, or tile
- Wipe backsplash, grout face, and outlet covers
- Clean sink basin, drain rim, faucet base, and sprayer
- Polish fixture surfaces with a clean non-scratch cloth
- Wipe appliance fronts, handles, sides, and control panels
- Check gaps beside the range and refrigerator when accessible
Do not scrape paint, adhesive, or mortar without an approved method. Check outlet covers, faucet bases, and appliance controls at eye level.
Bathroom final-clean checklist
Bathroom dust sticks to tile film and collects behind fixtures. Complete all 9 checks in each bathroom. Remove dry soil before adding water. A 3-bathroom home creates 27 bathroom checks before floors are complete.
- Vacuum exhaust fan cover, light ledges, and upper trim
- Wipe vanity fronts, pulls, drawers, and agreed interiors
- Clean counters, sink, faucet base, and backsplash
- Clean mirrors from edge to edge
- Wipe shower walls, tub, niches, shelves, and ledges
- Detail shower glass, frame, and door track
- Clean toilet tank, seat hinges, bowl exterior, and base
- Check grout lines and tile corners for loose dust
- Vacuum baseboards and floor edges before damp mopping
Use maker care directions. Hard scraping or acid can damage finishes. Check each vent, register, light fixture, outlet cover, and baseboard before leaving.
Bedroom, living room, and hallway checklist
Complete these 8 checks in each bedroom, living room, and hallway. View empty-room surfaces from 2 angles. Thin dust is easy to miss.
- Vacuum built-in shelves and cabinet interiors in scope
- Wipe doors, frames, knobs, and lock areas
- Clean switch plates and outlet covers without adding excess moisture
- Dust closet shelves, rods, corners, and floor edges
- Wipe stair rails, posts, and ledges
- Check fireplace surrounds and mantels without disturbing ash or unsafe debris
- Vacuum baseboards and the gap behind open doors
- Spot-clean light wall marks only when the paint is cured and approved
Test fresh paint in 1 hidden spot. Stop if the sheen changes. Put drips, drywall flaws, and damaged trim on the contractor punch list.
Window, glass, and track checklist
Construction film shows in sunlight. Complete these 8 checks for every included window group. Clean glass after nearby dusting. Finish it before the final floor pass.
- Vacuum loose dust from sills and tracks
- Use a detail brush and crevice tool in track corners
- Damp-wipe the track after dry soil is gone
- Clean interior glass included in the scope
- Wipe frames, locks, handles, and ledges
- Clean mirrors, glass doors, and interior partitions
- Check for streaks from the side and in natural light
- Note scratches, failed seals, paint, or damage for the contractor
List 5 possible add-ons in the scope: exterior glass, screens, tall windows, scraping, and sticker removal. Sharp blades can damage treated glass.
Floor checklist by surface
Floors come last. Use 3 passes: room edges, open areas, then approved damp cleaning. Change gray water or loaded pads before residue moves into the next room.
| Floor | Checklist |
|---|---|
| Hardwood and laminate | Use a floor-safe vacuum head; detail edges; remove grit; use an approved product; keep water light; check for dust lines |
| Tile and resilient floors | Vacuum grit; check transitions and toe kicks; damp mop; change gray water or pads; report haze, adhesive, or paint |
| Carpet | Remove sharp debris; vacuum edges; make slow overlapping passes; check stairs, thresholds, and closets; note damage |
Final quality-control pass
Walk the property again with lights on and blinds open where safe. Complete these 6 checks:
- Swipe one finger across a dark shelf, sill, or counter edge.
- Look along glass and glossy floors from the side.
- Open one cabinet and drawer in each room.
- Check behind doors and along floor transitions.
- Look at fixture bases, switch plates, and handles.
- Confirm wet floors and surfaces are dry.
If a contractor returns, note every affected room. A touch-up can then target the new dust. Fine dust may keep resettling for 1-2 weeks after crews leave.
Make the checklist match the written scope
This post construction cleaning checklist covers common final-clean work. Every project still needs a written scope. Mark 10 items as included or excluded: cabinet interiors, exterior windows, screens, walls, garages, appliance interiors, labels, paint, adhesive, and grout haze.
Elite House Cleaning provides post-construction cleaning in Rocklin and the Sacramento area. Service reaches 29 cities, including Roseville, Sacramento, Folsom, and Granite Bay. Projects may include new homes in Whitney Ranch and Fiddyment Farm. The woman-owned company has operated since 2015. It is insured and bonded. Its team uses HEPA vacuums and eco-friendly, non-toxic products. Call (916) 407-1010 to review the rooms, surfaces, and timing.