
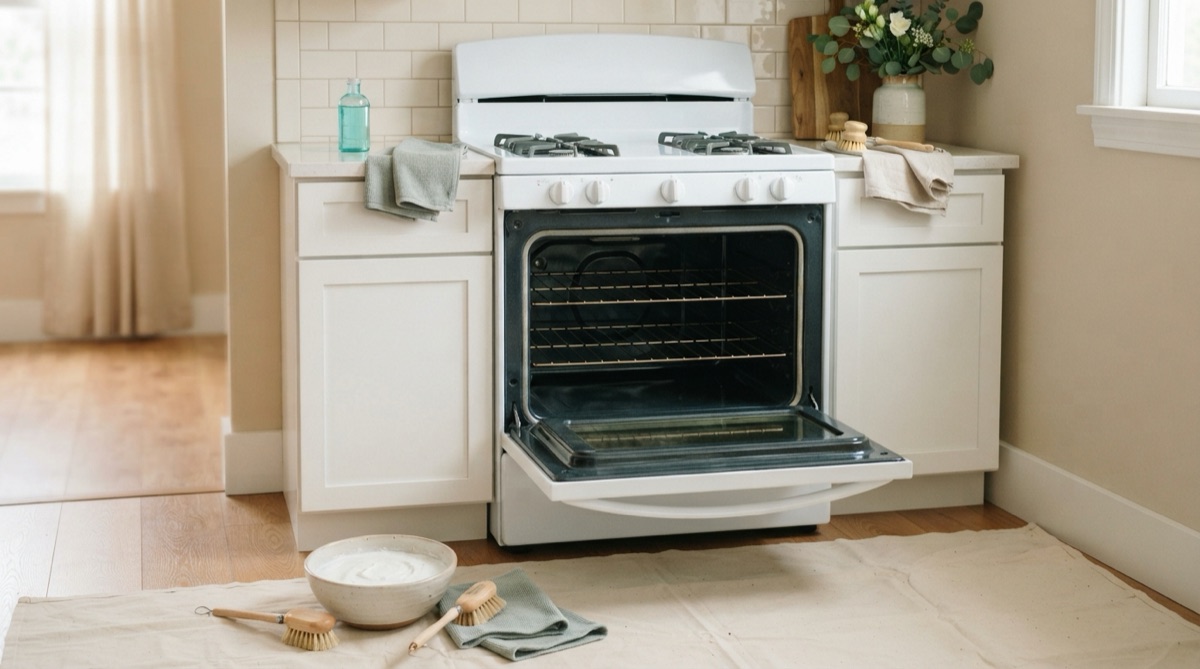
The verdict: DIY handles light buildup; pros handle baked-on grease
For stove and oven cleaning, DIY is fine when the mess is fresh, light, and only on easy-to-reach parts. Professional cleaning is better when grease has baked onto racks, the door glass is cloudy, burners are sticky, or you do not want cleaner residue near food. The safest plan is to cool the appliance, match the cleaner to each surface, and stop before scrubbing harms the finish.
Key takeaways
- Wipe fresh spills once the surface is warm, not hot; baked-on sugar and oil need more patience.
- Your oven manual sets the limit on racks, steam cycles, self-cleaning, and door glass.
- Cooking is a real safety issue: U.S. fire departments answered an estimated 170,000 home cooking fires in 2021 (U.S. Fire Administration).
- Book help when the job needs soaking time, detail tools, and a full rinse instead of another round of hard scrubbing.
DIY cleaning works when residue is fresh
A home clean can handle most weekly splatters. Start after the oven or cooktop is off and cool enough to touch. Remove loose crumbs first so grit does not scratch glass, enamel, or stainless steel.
For the oven floor and walls, a thin paste can start with 1/2 cup baking soda and 3 tablespoons water, then sit from 20 minutes to overnight based on the soil level (Whirlpool). Keep paste away from heating elements, fans, and vents. Wipe several times with a clean damp cloth so powder does not bake into a chalky film later.
On the stove, the fastest win is the control area. Grease collects around knobs, burner rings, and the front lip where hands land during cooking. Pull removable knobs only if the manual allows it, wash them gently, dry them fully, and put them back in the right position.
If the rest of the kitchen is also due, time the appliance work before floors and after upper dusting. Our room-by-room deep cleaning plan gives that order so crumbs and cleaner drips do not land on finished surfaces.
What a professional clean changes
A professional result comes from time, reach, and rinse control. The cleaner can soak racks and grates while detailing the cooktop, then return to stubborn spots after grease has softened, instead of forcing one product to do every job at once. On rental turnovers, the piece our crews most often find untouched is the strip where the oven door meets the frame — it holds a season of drips nobody sees until the walkthrough.
If you want the oven professionally cleaned, the best fit is usually baked-on grease, a rental turnover, a move-in kitchen, or a stove that still feels tacky after normal wiping. Elite House Cleaning can include oven and refrigerator cleaning as part of a kitchen reset, using insured cleaners and surface-appropriate products.
Pros also know when cleaning should stop. A weak gas flame, damaged gasket, cracked glass, peeling enamel, or electrical issue belongs with an appliance technician. Cleaning can remove soil; it cannot repair a part.
Pick the method by appliance zone
The oven and stove are one cooking station, but they are not one surface. Use the lightest method that works for each area.
| Zone | DIY first move | Step up when |
|---|---|---|
| Oven floor and walls | Cool fully, lift crumbs, use a mild paste, then rinse well | Smoke, black carbon, or cleaner smell returns after use |
| Oven racks | Soak in hot water with mild dish soap, scrub, rinse, and dry | Racks stay sticky, rails grind, or residue sits in corners |
| Door glass | Clean the exposed glass only and keep liquid out of vents | Haze sits between panes or the door needs disassembly |
| Gas grates and burner caps | Soak removable parts, clear loose food, and dry ports fully | Flame changes, parts rust, or grease sits under the top |
| Glass or electric cooktop | Remove crumbs, use a non-scratch pad, and buff dry | Sugar burned on, scratches appear, or cloudy marks stay |
This same split helps with other appliances. If you are cleaning the whole cold-food side of the kitchen too, use our fridge and freezer cleaning guide before wiping the range so thaw drips and food bins do not cross the stove area.
Self-cleaning is not a shortcut for every oven
Self-cleaning can help with heavy residue, and steam cleaning fits lighter touch-ups, but both depend on the model. Commercial oven cleaners or chemicals are not advised inside self-cleaning ovens because they can damage interior surfaces (Whirlpool). Remove racks only if your manual tells you to, and let the oven cool fully before wiping ash.
Do not run self-clean right before guests arrive. The cycle can make odor and heat, and old crumbs may smoke. Ventilate the kitchen during the cycle and keep pets in another room — the high-heat fumes are dangerous to birds especially. The cycle also does nothing for the stovetop, knobs, grates, outside glass, or the door-frame strip.
One rule for purchased degreasers matters above all: never combine an oven cleaner with bleach, ammonia, or any second product, in the oven or in the rag bucket — degreasers are strong bases and the combinations can produce dangerous fumes. Whatever you buy, the appliance manual outranks the product label, and food-area cleaning always ends with a clean-water wipe.
Hard water is the local enemy of black glass
Around Rocklin and Roseville, hard-water spots show up fast on black glass cooktops, stainless trim, and drip edges — and mineral haze on dark glass reads as “dirty” even when the surface is clean. Use a damp microfiber cloth first, then dry with a second cloth. Leaving rinse water behind can make a clean stove look streaked by dinner.
When to book help
Call in help when the appliance is part of a larger mess: move-out cooking buildup, holiday roasting spills, sticky rental turnovers, or a kitchen that needs counters, cabinet fronts, floors, and appliances cleaned in one visit. Appliance cleaning is also worth it when you have already tried a gentle method and the grease still smokes.
Stop DIY work if you smell gas, see sparks, feel a loose knob, or notice a damaged seal. Turn the appliance off and use the right repair channel first. Cleaning is the next step after the appliance is safe to use.
Finish with a cooking surface you trust
One stop-rule covers everything above: if a surface needs more force than a soft pad and patience, it needs a different method, not more muscle. Heat what you cleaned before you cook on it — a surface that smells like cleaner when warm needs another rinse.
When the whole kitchen is the project, an estimate takes five minutes.